The new Nest Cam (battery) and Doorbell (battery) will launch on August 24 in several countries, and ahead of that Google has released videos showing the set-up process. We also get to see more of the Nest Cam with floodlight variant.
At a high-level, you set up the new security cameras by scanning a QR code with the Google Home app. On the Cam (battery), it’s found on the sticker covering the lens with Google novelly advising users to save and stick it to the printed quick start guide for future pairings. The other option is a printed code next to the magnetic charging connector/port that you manually enter.
Meanwhile, the QR code is printed on the rear of the Nest Doorbell. Google has video instructions for both wire-free set-up and installation with existing chime wires.
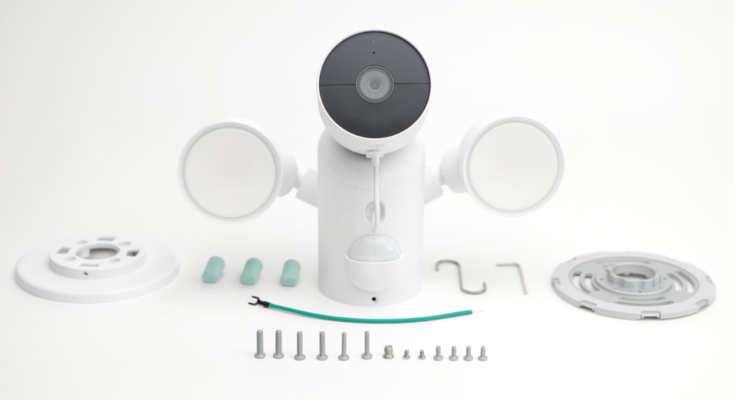
Today’s fourth video is about installing the Nest Cam with floodlight. The fact it’s already published is somewhat curious as there is no launch date yet for this model. When taking into consideration there’s nothing for the new Nest Cam (wired) yet, the $279.99 model could be launching sooner than the $99.99 entry.
The Nest Cam with Floodlight is designed to replace an existing floodlight with a wired connection of 100 to 240 volts ac, 50 to 60 hertz. Install in accordance with local building and installation regulations. New installations may require additional hardware. You may need to hire a qualified professional to help with installation.
The actual cup-shaped camera portion is physically separate from the floodlight portion. They connect magnetically to allow angle adjustment, while a power cable hooks into the bottom of the camera. Included anti-theft screws can secure that wire, as well as the floodlight to the wall/cover plate.
Similarly, after adjusting each floodlight, you can tighten a knob at the base of each light.
FTC: We use income earning auto affiliate links. More.


