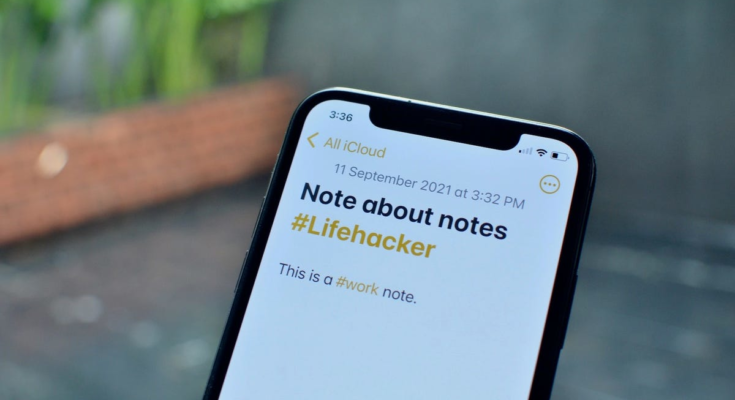
Tagging is a feature that can separate a basic notes app from a powerful one. And when it comes to note-taking apps, you used to have to choose a third-party option (often one that cost money) to take advantage of this helpful feature—but no more.
In iOS 15, iPadOS 15, and macOS Monterey, Apple has added a tagging feature to Apple Notes (incidentally already our recommendation for the best notes app on the iPhone). You can now, finally, tag any note with a simple hashtag and find all notes corresponding to the hashtag with a tap.
As someone who uses Apple Notes for all of his note-taking, this change is more than welcome. Tagging can help you organize notes in ways that a traditional folder system just can’t—though come to mention them, the Notes app also lets you create smart folders that can show notes from multiple tags. Here’s how to get started.
How to tag notes in Apple Notes
All you need to tag a note is add single word (you can’t use a phrase, or at least not without removing the spaces), preceded by a hashtag (#). And you can do this anywhere: In the title, or in the text.
G/O Media may get a commission
Let’s say you want to tag a task list as #todo. Enter “#todo” anywhere in the note. You have just created a new hashtag. You can repeat this for all your important notes. An active hashtag will show up in yellow.

How to find tagged notes in Apple Notes
The tagged notes section is oddly hidden. After opening the Notes app, hit the “Folders” button at the top-left corner of the screen to go to the “Folders” screen. Here, scroll down to the bottom of the page to find the “Tags” section.
You can choose the “All Tags” option to see all tagged notes. Choose a particular tag to see all the associated notes. Once you select a tag, you’ll see a carousel at the top, showing all your tags. You can choose multiple tags here.

You can also search for any tagged notes by using a hashtag in your search (this is a much faster way to find the notes you want).
How to organize tagged notes in a smart folder in Apple Notes
Let’s say you want an easy way to access all your notes related to work. Try grouping them in a smart folder based on the tagging system.
The beauty of a smart folder is that it updates automatically. Once you define that a folder should contain notes from particular tags (you can select as many as you like), it will constantly keep the folder updated with newly tagged notes.
To get started, open the Notes app on your iPhone or iPad and tap the “Folders” button in the top-left corner. Tap the New Folder button in the bottom-left corner, and choose the “New Smart Folder” option.
Give the folder a name, select the tags to include, and tap “Done.”

You’ll now see all associated notes in a single view. If you later want to change the tags for your smart folder, tap the three-dotted Menu button at the top, and choose the “Edit Smart Folder” option.
How to delete tags and smart folders in Apple Notes
Apple Notes doesn’t provide a clear way of deleting tags, as they are populated automatically. If you don’t want to see a tag anymore, you’ll need to delete all notes associated with it or manually remove the tag from all notes.
Deleting a smart folder is much easier: Find the smart folder in the “Folders” screen, swipe left on it, tap the Delete icon, and choose the “Delete Smart Folder” option to confirm. The notes inside it won’t be deleted; just the folder grouping them.


