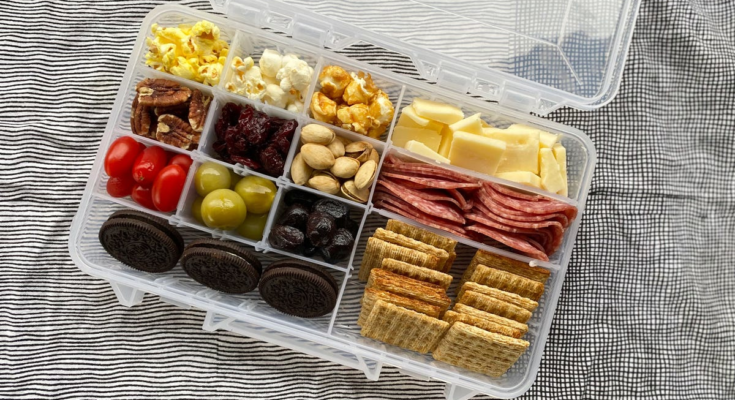
Snacking is an art, and some people are more artistically inclined than others. Children usually have a natural aptitude for snacking, which forces people with kids to develop snack-building skills out of necessity, so if we were to trace the history of the snackle box back to its inventor, I’m sure we would find a mom.
I certainly did not invent the snackle box, but I’m a fan. A reader brought the snacking format to my attention a while ago, and I have been seeing iterations of it across various food-focused Facebook groups for months now. It is, as you can see, a very cute and practical idea.
A tackle box (which is what you call a snackle box before you put any snacks in it) is a great snack transportation system for a couple reasons: It keeps your various little foods neat and organized, while keeping your more delicate snacks from being crushed.

The partitions in the box also keep the various foods from touching each other, which I hear is important to some children (and some adults, for that matter).
When choosing a tackle box to become a snackle box, I would suggest one with moveable partitions, so that you can customize your box to fit your needs and adjust your snack ratios as need. (If you want a 1:1 ratio of crackers and dried cherries, I support you—I just don’t want you to be beholden to any one format.)
What should you pack in your snackle box? Snacks, of course. Build it like you would any charcuterie, cheese, or snack board, and include a wide variety of flavors and textures. Start with a meat, a cheese, and a carb, and build it out from there with pickles, olives, dried fruit, fresh fruit, nuts, and any other snacky items you have hanging out in your pantry. Just make sure to save a compartment for dessert (both in the box, and in your stomach).


