The Notes app is a frequently underused tool on iPhone. It’s a free product developed by Apple that comes on iPhone, iPad, and Mac. Thanks to iCloud, you can seamlessly work on notes across your Apple devices.
While meant for iPhone, many of these tips can be used on the Notes app for iPad and Mac.
(Hint: it’s even better on iPad)
The Notes app is as secure as you’d like it to be
One of my favorite features in the app is the ability to lock a note with a password or Face ID. This will need to be set up in Settings prior to use. Tap Settings, Notes, then Password to create a password or toggle “Use Face ID” on. Please note, if your device uses Touch ID, you will need to unlock it that way instead of Face ID.
To lock a note, go to the three dots at the top right corner while in the note and click “Lock”.
Collaborate with others
Share notes with others to give them editing access. Activity View came with the iOS 15 update, which gives a summary of changes made since the last time you opened the note. It also includes a day-to-day list of activities from each collaborator.
Swipe right within the note to reveal in-depth highlights of changes. It’ll show edit times and dates and include color-coded names of the other collaborators. You can even mention others with an “@” to tag them.
If you want to share a note but not give others editing access, just send a copy.
Scan documents with ease
No need to use a clunky old scanner. Simply tap the camera icon and hit “Scan Documents.” Position your document within the frame (one page at a time) and Notes will take care of the rest.
Within the camera icon, you can also take photos or videos to be automatically uploaded into the note. While you can’t do any serious editing, you can draw on your content or leave it placed within the note. Any photos or videos taken within the Notes app can be saved to Photos. You can also upload existing photos or videos saved in the Photos app.
Pro Tip: When on Mac, your iPhone or iPad will sync to take photos or scan documents for you. They’ll pop up automatically in the note on your Mac.
Draw or write
Notes can be a great way to sketch or jot something down. While the iPhone doesn’t have Apple Pencil support, you can use your finger or a third-party stylus found here.
When you tap the pencil icon at the bottom, you’re given six tools: a pencil, highlighter, marker, eraser, lasso tool, and ruler. These tools provide users the opportunity to create and build stunning notes all within the free app. Most of the tools’ features are self-explanatory. However, what you may not know about the lasso tool is that you can grab a section to click and drag it to another place.
Own an iPad too? Don’t miss out on these awesome features
- Apple Pencil adds to the experience: If you have an iPad with a second generation Apple Pencil, double tap on the flat end near the pencil tip to switch between pencil and eraser
- There’s a shortcut for everything: My favorite shortcut lets you double tap the lock screen to take you straight into a new note. You can set this up by going into Settings, Notes, and tapping “Access Notes from the lock screen”
- Convert handwritten notes to text: The pen with the letter A is what you’ll use to convert your writing. Simply write and it’ll convert to text
Format to your heart’s desire
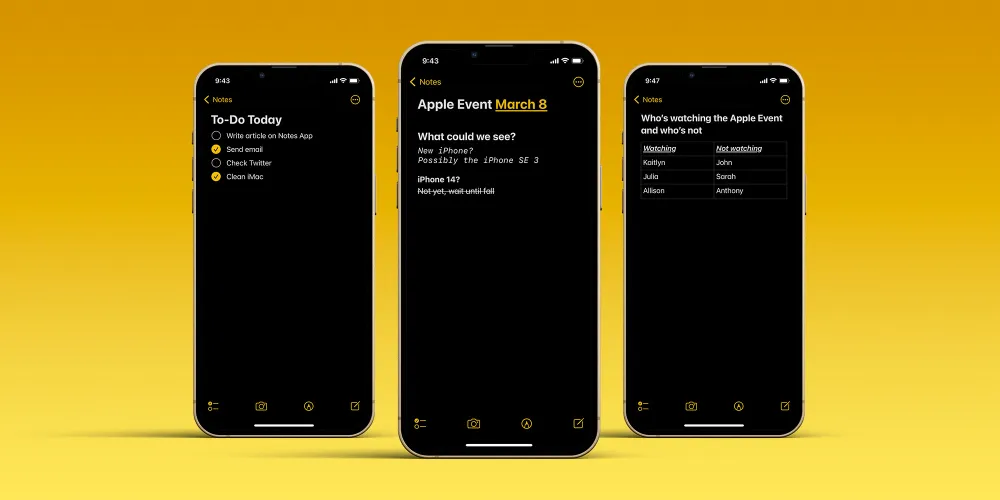
Notes app users can change the text format to fit various styles. You can add a title, heading, italics, bullet points, and more. While most notes are kept short, this is a great option for users who want more freedom within the app. There’s even an option to create tables and to-do lists.

Organization is simple
Channel your inner Marie Kondo. You can:
- Pin important notes to the top of your feed so they’re easy to find;
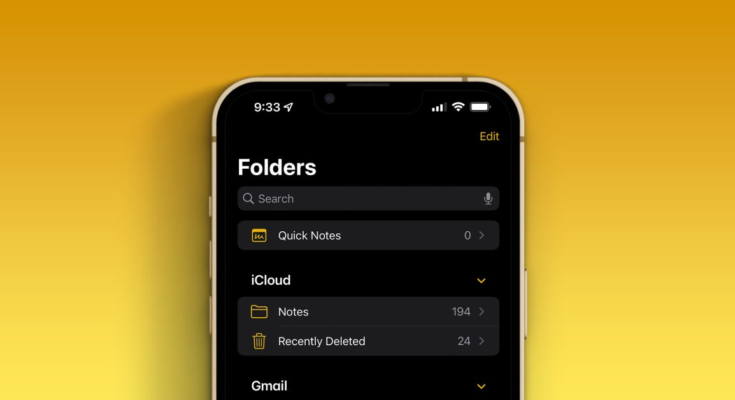
- Create folders to save notes under;
- Generate Tags by typing a # into the note to organize each into smart folders. For instance, if I type #applewatch, all of my notes with that tag will appear when i search #applewatch;
- Search by keyword at the top of the app by either typing or talking to find a certain note or keyword;
- Add a Calendar Event or Reminder by typing a date. Tap “Done” and the date will appear highlighted. Hit the highlighted date to create an event
Pro tip: if you have multiple email accounts in the Mail app, you can create and save notes under a specific account.
When you are done with a note, the app lets you easily print or save it to the Files app. Heck, you can even save it to Pinterest if you’d like.
Save time
Quick Notes are a fast way to record a memo. It can be done on Mac using hot corners or dragging from the bottom right corner on iPad. You can edit Quick Notes from Mac and iPad on iPhone.
For quick access to the app, you can also add Notes to your iPhone’s control center. Go to Settings, Control Center, and tap the + sign next to “Notes”.
Don’t feel like typing? Ask Siri to write the note for you or use dictation. You can even scan text from another source.
Anything other Notes app tips?
What do you use the Notes app for? Are there any features that I missed? Let me know below.
FTC: We use income earning auto affiliate links. More.


